Create a Product
First of all you need to create a new product in the "Products" backend. We offer various options for creating a new product, including utilizing our Premium Templates, Demos, or starting from scratch by clicking "New."
In this tutorial we create a product from our Premium Templates.

Please peruse our extensive collection of templates and effortlessly generate finished products with a single click. We provide a minimum of one complimentary product from every category.
Just click "Create Product" and the product will be added to your products list.

The shirt template includes two perspectives, namely the front and back view of a shirt. Now let's open the first view in the Product Builder to start editing the content of the view.

Edit views in Product Builder Backend
The Product Builder backend is where you set the initial content of your customizable products. In other words that is the product your customers will see when viewing the product for the first time. The Product Builder allows to add different kind of elements such as images, texts, upload zones and so on and you control if and how these elements can be customized by your customers.
View-based Options
In the View Options you find different options that you can set for the product view. Here you can set a Print Size when exporting the view in the order as print-ready file, set Canvas Size and other pricing and layout options.

Layers Section
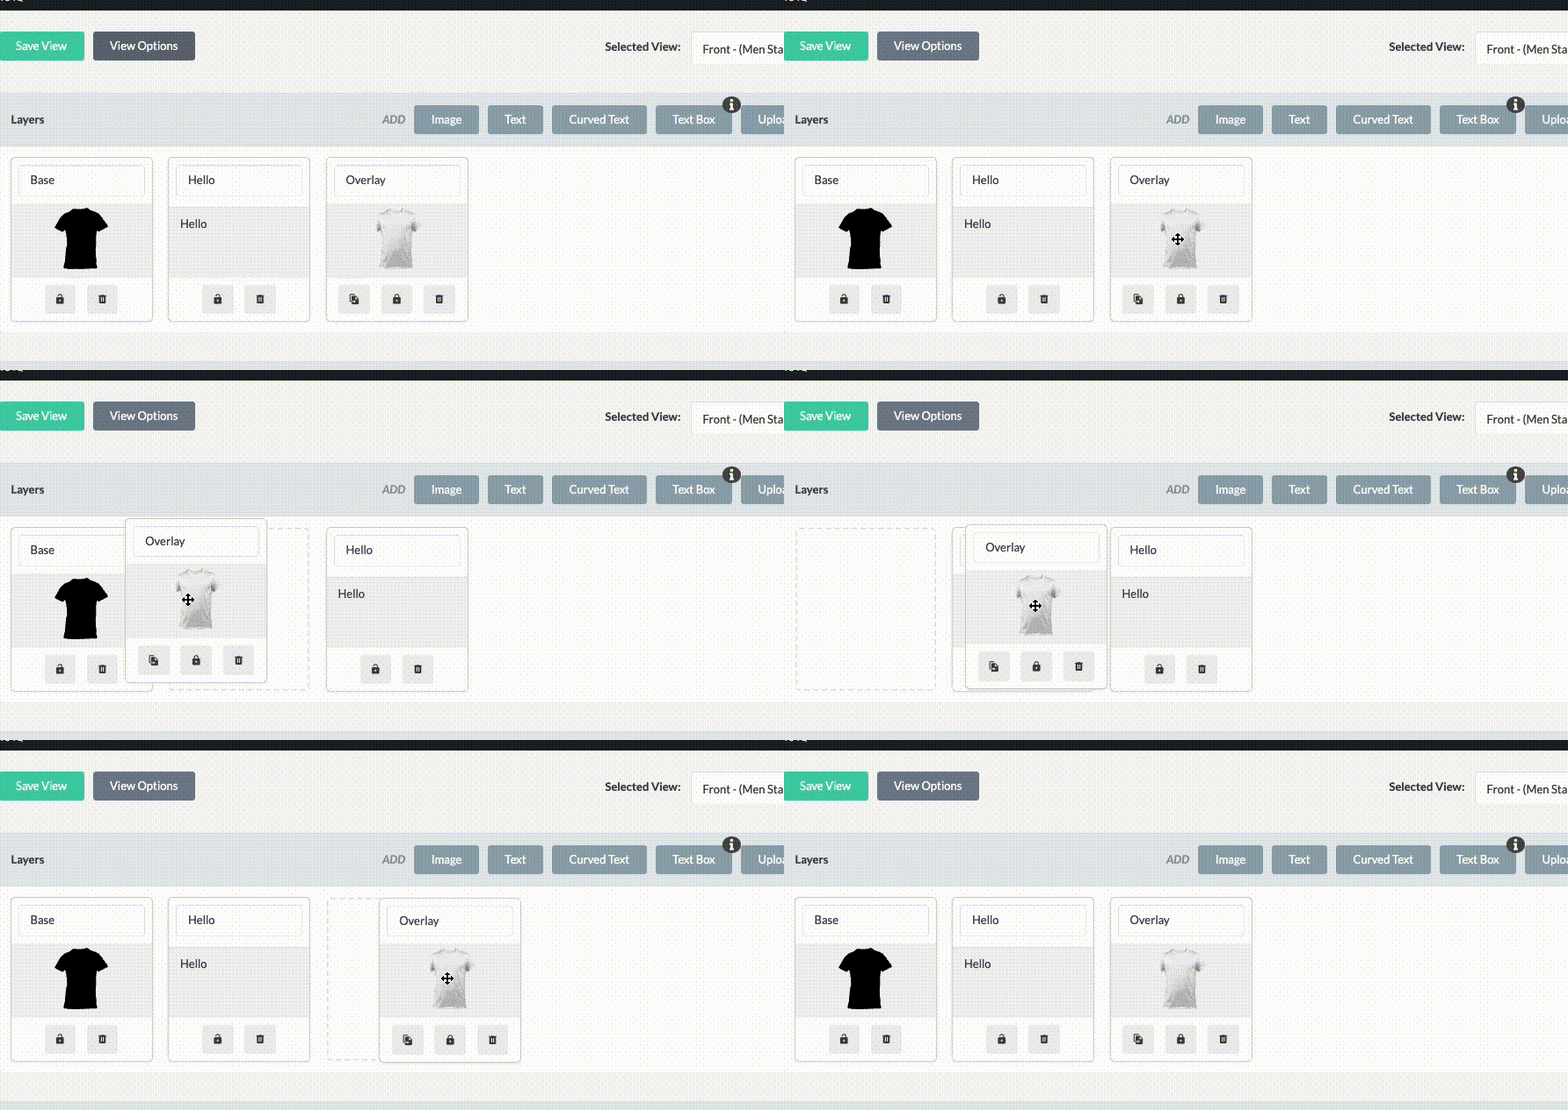
Within the Layers section, various types of elements may be added. To modify the layer position, a simple drag and drop action will suffice.

Canvas Section
At this location, you have the ability to choose various elements and modify their appearance using the Toolbar located beneath the selected element. The Sidebar located on the right-hand side allows you to manage customization options, color choices, bounding box, and more. Additional information regarding specific features can be found in separate solution articles.


